Hi there!
It's been a while since my last post. I'm sorry for that, but I was a bit busy. But now school started this week I will post more frequently as I promised :D
So today I want to talk about Photoshop custom brushes. In Photoshop you have the opportunity to make your own brushes. I don't do it often because I use almost only the basic brushes. But sometimes it is very handy to make a set of brushes.
(For the people who want to now which brushes I use: I uploaded my own brush set and you can download it
here. The Leaves brush that I will make in the tutorial below is also included in the downloadable brush set. I made them with Photoshop CS5 Extended but I'm sure they can be used in at least all Photoshop software CS3-CS6.)
How do you make you're own Photoshop brushes?
Start with opening a new file in Photoshop (
File> New) I made it about 300 x 300 pixels big. Then, use the
Lasso Tool (L) to make the shape of your brush. I wanted to make a brush which I could use to quickly draw bushes and leaves so I made the outline of a bunch of leaves.
Then use Fill to fill your selection with black paint (Edit>Fill)
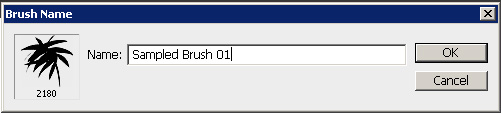
Then go to Edit> Define Brush Preset... All the black on the canvas will become the brush. (Tip: if you want a brush of which one piece is another opacity than the rest of the brush, just make it grey and Photoshop will make it more transparent when making the brush.)
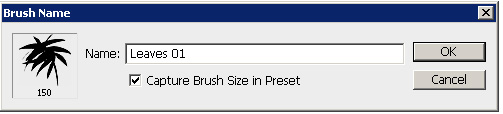
Give your brush a name and click OK.
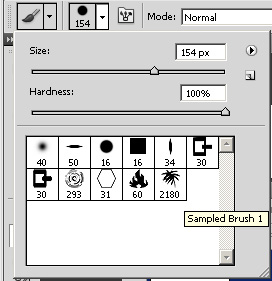
Now you can pick your fresh-made brush from you brush preset picker.
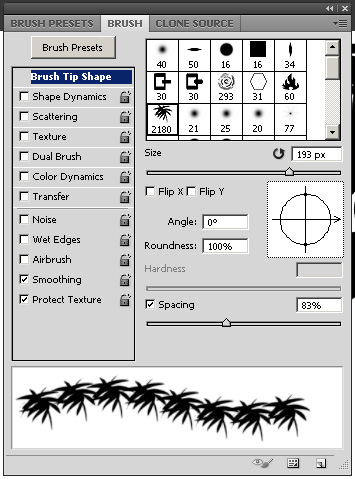
You can draw with your brush right now but you can also give it some special effect. Open the Brush Panel which you can find next to the brush preset picker. First, change the size of your bush to a size that is better to handle when opening it, so about 100 px. Then, in my case set Spacing higher to make a little more space between the brushes.
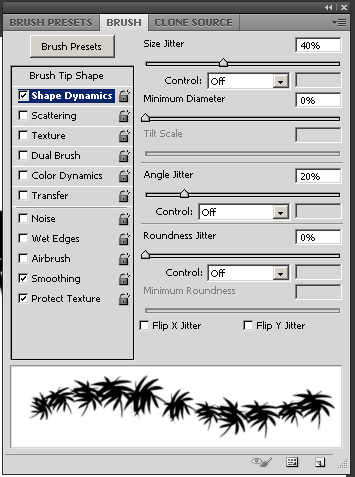
Go to Shape Dynamics and Change the Size Jitter to 40% to make the size of your brush more random. Then, do the same to the Angle Jitter, to make it look more like a random bunch of leaves.
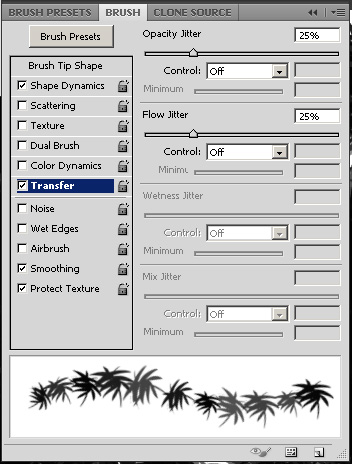
Then go to Tranfer an set the Opacity Jitter and Flow Jitter both to 25% to make some of the leaves more transparent than other.
To save these new settings go to your brush preset picker and click on New Brush Preset.
Give your brush a name and click OK. Now your new brush is finished and you can use it whenever you like!
To give an idea of what you can do with my Leaves Brush I made a quick example:
I hope you've learned something in this tutorial! What I told you here are by far not the only options in the Brush Panel. So, experiment a lot with it and I'm looking forward to see what brushes you made ;D
Byez!
-Emiel